You do the math on a gym membership — the monthly fee, the initiation cost, the drive across town — and then you do the math on the days you actually went last month. The numbers rarely agree. A budget home gym flips that equation: one modest upfront investment, zero commute, and equipment that pays for itself within a few months. Here is exactly what to buy, what to skip, and how to turn a corner of your living space into a training setup that actually gets used.
Why a Budget Home Gym Beats a Membership
The average gym membership costs between $30 and $60 a month — that is $360 to $720 a year before extras. A home gym built for under $200 pays for itself in four to six months, then costs nothing. The bigger win is behavioral: when the gym is ten steps away, the friction that kills workouts disappears. No packing a bag, no waiting for the squat rack, no skipping leg day because it is raining.
You do not need a garage full of iron to get results. The fundamentals of fitness — pushing, pulling, hinging, squatting, carrying — can all be trained with a handful of versatile tools. What matters is consistency, and a simple setup you use five times a week will outperform a fancy gym you visit twice a month.
Pairing your workouts with walking 10,000 steps a day covers your cardio base for free, which means your equipment budget can focus entirely on strength and mobility.
The Essentials: What to Buy First
Here is a prioritized shopping list. Prices are typical online or big-box figures — sales and secondhand markets can push them lower.
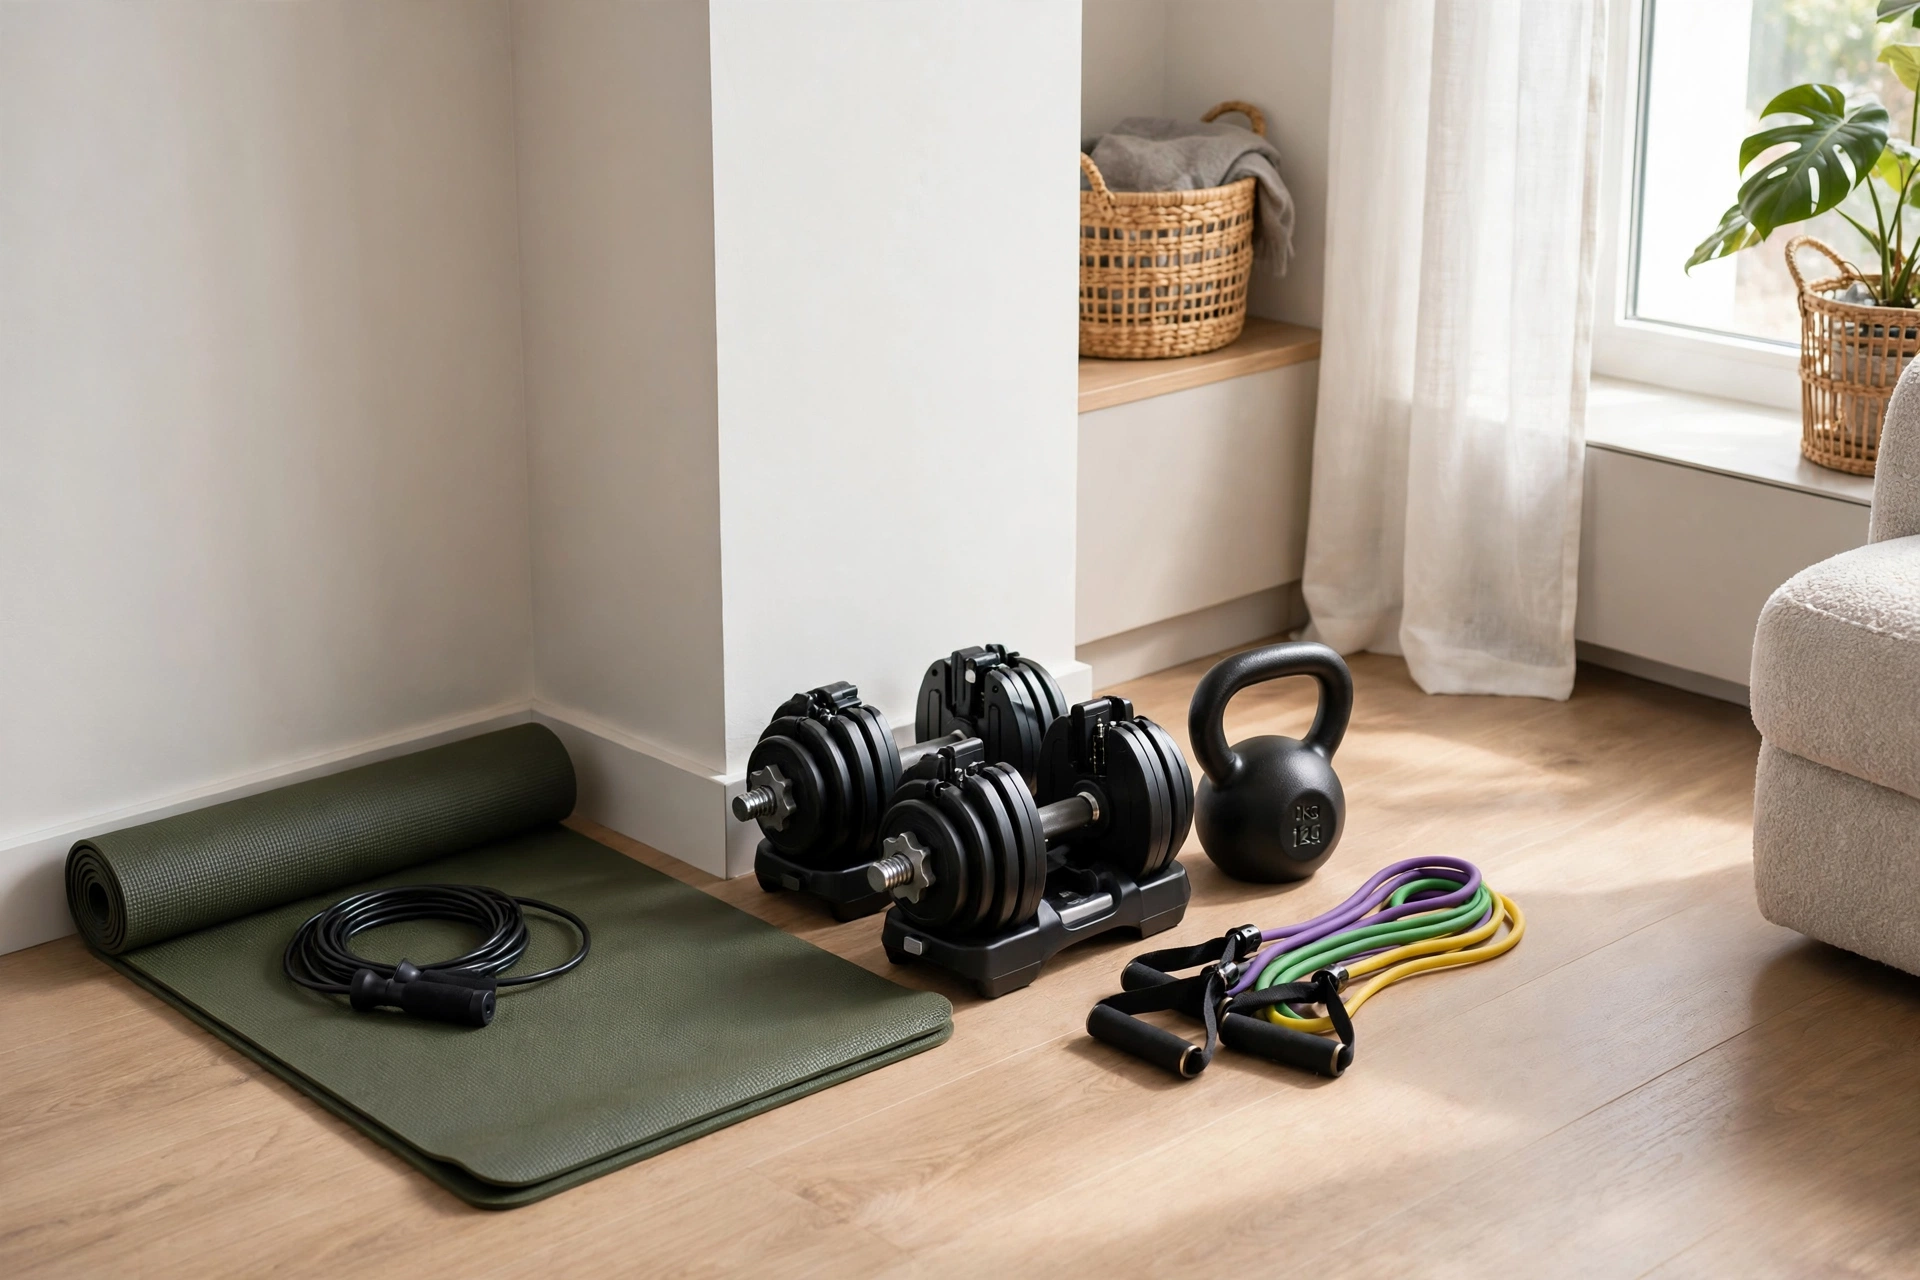
**1. Adjustable dumbbells — ~$50–$80**
The single highest-value purchase. A pair of adjustable dumbbells replaces an entire rack of fixed weights, letting you train everything from goblet squats to overhead presses to rows. Look for a set that goes from 5 to 25 pounds per hand at minimum. Spin-lock adjustable handles with standard plates are the cheapest option; dial-adjustable sets cost more but save time between exercises.
**2. Resistance bands set — ~$20–$30**
Bands add variable resistance that dumbbells cannot match, and they unlock assisted pull-ups, banded push-ups, lateral walks and serious core work. A set with multiple resistance levels plus door anchors and handles covers nearly every movement pattern. They also weigh nothing, which makes them perfect for travel.
**3. Jump rope — ~$10–$15**
The most cost-effective cardio tool ever made. Ten minutes of jump rope rivals thirty minutes of jogging for calorie burn, and it builds coordination and calf strength at the same time. A speed rope with adjustable length is all you need.
**4. Yoga or exercise mat — ~$20–$30**
Protects your floors and your joints during floor work, stretching and core exercises. A mat at least 6mm thick gives enough cushion for planks, bridges and crunches without feeling unstable underfoot.
**5. Doorway pull-up bar — ~$25–$35**
Pull-ups and chin-ups are the gold standard for upper-body pulling strength, and a doorway bar installs without screws on most standard frames. If your doorways cannot take one, substitute a sturdy suspension trainer (around $30) that anchors to a door.
**Total: roughly $125–$190**, comfortably under $200. With these five items you can train every major muscle group, do real cardio, and follow structured programs for months of progress.
What to Skip (For Now)
Discipline in buying matters as much as the buying itself. Skip the ab roller wheels and gimmicky toning gadgets — your mat and bodyweight cover core work. Skip the weight bench until you have outgrown floor-based pressing; a sturdy step or low box works for step-ups and Bulgarian split squats in the meantime. Skip cardio machines entirely at this budget — a jump rope and brisk walking outperform a cheap, wobbly machine every time.
And skip the temptation to buy everything at once. Start with the dumbbells and bands, train for a month, then add the next piece based on what your workouts are missing.
Setting Up in a Small Space
You do not need a dedicated room. A clear area about 6 by 6 feet handles most dumbbell and band work; the pull-up bar lives in a doorway and the jump rope needs a bit more ceiling clearance or an outdoor spot.
Store dumbbells on a small rack or even a sturdy low shelf to keep floors safe. Hang bands on a hook behind a door. Roll the mat and stand it in a corner. The whole setup should take under five minutes to deploy and under five to put away — because a home gym that feels like a chore to set up will not survive the month.
Good lighting and a small fan make a surprising difference in motivation. If you train to music or follow video workouts, a phone stand on a shelf completes the setup for under $10. And remember that recovery counts as training: good sleep habits will do more for your progress than any extra piece of equipment.
Your First Week: A Starter Workout Plan
Train three to four days a week, alternating workout days with rest or walking days. Each session should take 30–40 minutes including a five-minute warm-up (jumping jacks, arm circles, bodyweight squats).
**Day 1 — Full body A**
Goblet squats (dumbbell): 3 sets of 10
Push-ups (knees or band-assisted if needed): 3 sets of 8–12
One-arm dumbbell rows: 3 sets of 10 per side
Standing overhead press: 3 sets of 10
Plank: 3 rounds of 30 seconds
**Day 2 — Rest or 30-minute walk**
**Day 3 — Full body B**
Romanian deadlifts (dumbbells): 3 sets of 12
Incline push-ups (hands on a sturdy chair): 3 sets of 10
Banded lat pulldowns (door anchor): 3 sets of 12
Dumbbell lunges: 3 sets of 10 per leg
Dead bugs: 3 sets of 8 per side
**Day 4 — Rest or walk**
**Day 5 — Full body A again, then weekend rest**
This is a classic beginner framework, and if you want a more detailed progression, a dedicated strength training for beginners plan will carry you well past the first month. Rest 60–90 seconds between sets, focus on controlled form over heavy weight, and write down your reps so you can see yourself improving.
How to Keep Progressing
Budget equipment supports months of progress if you apply progressive overload — the principle of gradually demanding more from your muscles. Add one or two reps per exercise each week. Slow the lowering phase of each rep to increase difficulty without new equipment. Shorten rest periods. Move from knee push-ups to full push-ups, from assisted to strict pull-ups.
When the adjustable dumbbells finally feel light on your main lifts, that is the signal to invest your next $50 — heavier plates or a second-hand kettlebell — not before. The people who get the best results from home gyms are not the ones with the most gear; they are the ones who trained consistently with the least.
Start this week. Clear the corner, order the dumbbells and bands, and do Day 1. Six months from now, the membership you cancelled will feel like money you used to set on fire.
Frequently Asked Questions
**Can you really build muscle with just $200 of equipment?**
Yes — for beginners and intermediates, adjustable dumbbells, bands and bodyweight exercises provide more than enough resistance to build visible muscle and real strength for the first year or more of training.
**Is a home gym better than a gym membership?**
It depends on your habits. If you struggle with consistency, a home gym removes the biggest barriers: travel time, crowds and scheduling. If you need heavy barbells, specialized machines or classes, a commercial gym still wins.
**Where is the best place to buy budget gym equipment secondhand?**
Local marketplace listings, garage sales and secondhand sports stores routinely sell dumbbells, benches and mats for half their retail price. Check weight plates and bars for cracks or rust before buying.